
You’re staring down a beautifully roasted chicken, ready to serve your hungry guests. But how exactly do you carve that bird into perfect, presentable pieces? Don’t sweat it. Carving a chicken is easier than you think with the right techniques. In just a few simple steps, you’ll go from a chicken newbie to a carving pro. This easy-to-follow guide will teach you how to carve up a chicken like you’ve been doing it your whole life. With the right tools, some basic knife skills, and a few insider tips, you’ll be serving juicy, tender chicken slices that look like they came straight from a gourmet restaurant. So roll up your sleeves and get ready to become the master of your chicken carving domain. Let’s get slicing!
Gather Your Carving Tools
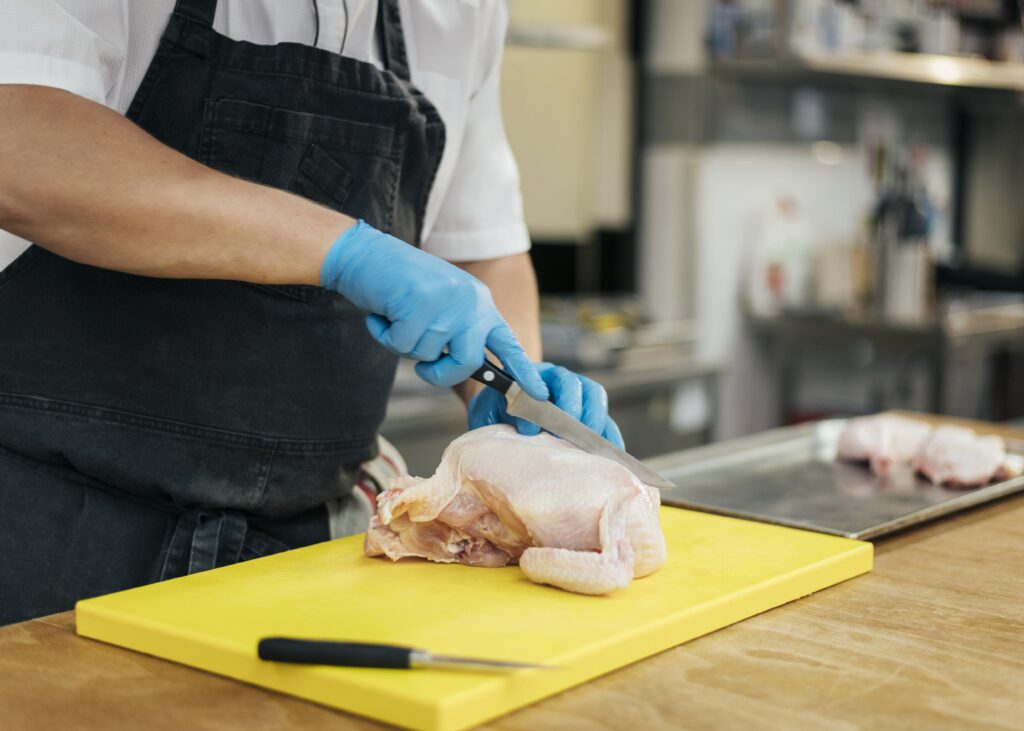
To carve a chicken like a pro, you’ll need a sharp knife, fork, and cutting board. A chef’s knife, utility knife, or carving knife works well. You’ll also want kitchen shears or poultry shears to cut through joints.
A sturdy wooden or plastic cutting board provides a good surface. You’ll want to secure the chicken to the board so it doesn’t slip around. Use kitchen twine or skewers to tie the legs together. You can also place the chicken breast side up in a roasting pan.
Carving fork
A carving fork helps you get a good grip on the chicken. Pierce the chicken through the cavity opening using the carving fork to lift and manoeuvre the bird. The tines of the fork provide leverage so you can slice evenly and securely.
Poultry shears
Poultry shears or kitchen shears are essential for cutting through joints and bones. Use the shears to cut the chicken in half lengthwise. Then cut the leg quarters away from the thighs. The shears cut easily through the rib cage and joints.
Sharpen your knives
A sharp knife is critical for carving chicken. A dull knife requires more pressure and can slip, injuring you or mangling the meat. Use a whetstone or electric sharpener to sharpen your knives before carving.
With the right tools and a little patience, you’ll be carving chicken professionally in no time. Now, isn’t that worth gathering a few essential tools? Your guests will surely appreciate your carving skills and the moist, evenly sliced chicken you serve.
Prepare the Whole Chicken for Carving
Now that you have your chicken, it’s time to get ready to carve.
Wash the chicken thoroughly.
Run it under cold water and pat dry with paper towels or a clean cloth. This removes any dirt, germs or debris.
Let the chicken rest.
Take the chicken out of the refrigerator 30 minutes before carving to allow it to reach room temperature. A warmer chicken will carve more easily.
Find the joints.
Look for the spots where the legs and wings attach to the body. Bend and flex the joints to loosen the tendons and make carving easier.
Flip the chicken breast side down.
Turn the chicken over so the backbone is facing up. Push down on the backbone to crack the rib cage open slightly. This allows you better access to the meat and makes slicing through joints simpler.
Remove excess fat.
Use kitchen shears or a knife to trim away excess fat deposits around the neck, tail and body cavity. Make small cuts around joints and edges to provide handles for carving.
Consider trussing.
Trussing involves tying a string around the legs and wings to hold everything in place. Trussing isn’t necessary but can help the chicken hold its shape better, especially if not carving right away. If trussing, do so before flipping the chicken over.
With your chicken washed, rested, flipped and excess fat removed, you’re ready to start carving. Take your time and remember – practice makes perfect. Your chicken carving skills will improve with each bird. Before you know it, you’ll be slicing through joints and serving up perfect pieces of white and dark meat like a pro!
Step-by-Step Instructions to Carve a Chicken
Remove excess fat and loose skin
First, use kitchen shears to cut off any excess fat around the chicken cavity and neck area. Pull the loose skin covering the neck back to reveal the joint where the wings attach. Cut through this joint to remove the wings.
Separate the drumsticks
Bend one of the drumsticks away from the body to pop the joint out of its socket. Cut through the joint to remove the entire drumstick. Repeat with the other drumstick.
Remove the thighs
Find the joint where the thigh attaches to the body. Bend the thigh away to pop the joint, then cut through to detach the thigh. Repeat with the remaining thigh. The body of the chicken will now be in two portions.
Slice the breasts
Place one half of the chicken body breast-side up. Feel for the breastbone in the centre and cut down along one side of it. Use your fingers or kitchen shears to cut through the rib cage. Repeat on the other side of the breastbone to release the whole breast. Slice the breast crosswise into thick or thin slices. Repeat with the other half of the chicken.
Carve the remaining meat
Turn the chicken halves over to expose the backbone. Run your knife along both sides of the backbone to remove it. Use your fingers to peel the meat away from the bone in thin strips. Cut off any bony parts. Flip back to the breast side and slice off any remaining meat around the rib cage and neck area.
Arrange and serve
Arrange the sliced chicken pieces attractively on a platter. Garnish with fresh herbs if desired. Serve the chicken immediately with your favorite side dishes.
Common Mistakes to Avoid When Carving a Chicken
Using the Wrong Knife
The knife you choose can make or break your carving experience. Opt for a sharp carving knife, NOT a chef’s knife. A carving knife has a narrow, pointed blade that’s ideal for slicing meat. A chef’s knife is meant for chopping vegetables and will tear the chicken, not slice it.
Carving at the Wrong Temperature
For easiest carving, the chicken should be slightly warm, not hot. If it’s straight out of the oven, the meat will be too soft and fall apart. Let it rest for 10-15 minutes so it firms up a bit. However, don’t let it sit too long or it will get cold and the juices will pool, making for a dry slice of meat. The ideal temperature for carving is between 135 to 140 F.
Failing to Remove the Wishbone
The wishbone, while fun for making wishes, gets in the way when carving a chicken. Remove it before carving by grasping the thicker ends and pulling up and out. Doing so gives you better access to breast meat. Leaving the wishbone in place means struggling around it and not getting perfect, even slices.
Carving Against the Grain
Take note of the direction of the muscle fibers, called the grain, in the thigh and breast meat. You want to slice perpendicular to the grain, not with it. Cutting against the grain results in shorter fibers and a more tender bite. Following the grain will give you stringy, chewy slices that lack flavor.
Forgetting the Drumsticks
The drumsticks often get overlooked but they contain plenty of meat. After removing the thigh portions, work your knife in behind the joint that attaches the drumstick to the thigh. Apply pressure to pop the joint out of the socket, then slice through the remaining skin and tendons to detach the drumstick. Enjoy your perfectly carved chicken!
How to Carve a Chicken Breast, Leg, Thigh and Wings
Chicken Breast
The chicken breast is one of the most popular parts of the bird. To remove the breast, place the chicken on its back. Feel along the breastbone in the center of the chest to find the joint where the breast attaches. Use your knife to cut through the skin and meat down to the bone. Work your knife under the breast meat to free it from the bone. Repeat on the other side. Slice the breasts into evenly sized pieces and serve.
Chicken Leg and Thigh
For the leg and thigh, flip the chicken over so it’s breast-side down. Bend the leg away from the body to pop the joint out of the socket. Use your knife to cut the connective tissue around the joint. Pull the leg away from the body with your hands to separate it. To remove the thigh, run your knife along the natural seam between the drumstick and thigh. Slice through the skin to expose the joint. Bend the thigh to pop the joint, then cut through any remaining connective tissue.
Chicken Wings
The wings offer a perfect balance of meat and bone. To remove them, flip the chicken onto its back. Feel for the upper joint where the wing attaches to the body. Bend the wing away from the body to pop the joint out of the socket. Use your knife to cut through any remaining skin and connective tissue. Repeat with the other wing. The wings can be served whole or separated into drumettes and wingettes.
Carving the chicken may seem daunting, but with some practice, you’ll be slicing and dicing with confidence. Take your time and follow the natural contours of the bird. Try different techniques to find what works for you. With the major portions removed, don’t forget to pick the remaining meat from the carcass. Use it for stock, soup, or your favorite chicken salad recipe. Happy carving!
Conclusion
And there you have it – with these simple steps, you can now carve a chicken like a total pro. No more wrestling with slippery poultry or mangling those perfect pieces. Just remember to work slowly, let those joints guide you, and don’t be afraid to get your hands dirty. Once you’ve mastered this skill, you’ll be the new go-to person at family dinners and holiday meals. So grab a bird, sharpen your knives, and get ready to channel your inner carving champ. Your friends and family will be thoroughly impressed, and you’ll gain some major kitchen cred. Carving a chicken may seem intimidating, but follow this advice and you’ll be serving up perfectly sliced meat in no time.