Creating the perfect sugar cookie frosting is an art that elevates the humble sugar cookie into a canvas for culinary creativity. Whether you’re decorating cookies for a holiday, special occasion, or simply to satisfy a sweet craving, the right frosting can make all the difference. In this article, we will share a fail-proof sugar cookie frosting recipe that’s both delicious and easy to work with. Plus, stick around for our FAQ section where we answer your top questions about sugar cookie frosting.
The Ultimate Sugar Cookie Frosting Recipe
Before we dive into the intricacies of making your sugar cookies stand out, let’s start with the foundation: a simple yet versatile sugar cookie frosting recipe. This frosting is not only tasty but also dries hard, making your cookies perfect for stacking, gifting, or enjoying over time.
Ingredients:
- 4 cups of powdered sugar, sifted
- 2 tablespoons of meringue powder
- 6 tablespoons of water
- 1 teaspoon of vanilla extract (optional for flavor)
- Food coloring (optional for decorating)
Instructions:
- Combine Dry Ingredients: In a large mixing bowl, combine the sifted powdered sugar and meringue powder.
- Add Wet Ingredients: Add water to the dry ingredients. If using, include the vanilla extract at this stage. Beat the mixture on low speed until the powdered sugar is moistened, then switch to high speed and beat until it becomes glossy and stiff peaks form, about 5-7 minutes.
- Adjust Consistency: If the frosting is too thick, add water, one teaspoon at a time, until you reach the desired consistency. If it’s too thin, add more sifted powdered sugar until it thickens up.
- Add Color: Divide the frosting into separate bowls if you’re using different colors. Add food coloring one drop at a time, mixing thoroughly until you achieve the desired shade.
- Prepare for Decorating: Transfer the frosting into piping bags fitted with your choice of tips, or use a spatula to apply the frosting to cookies.
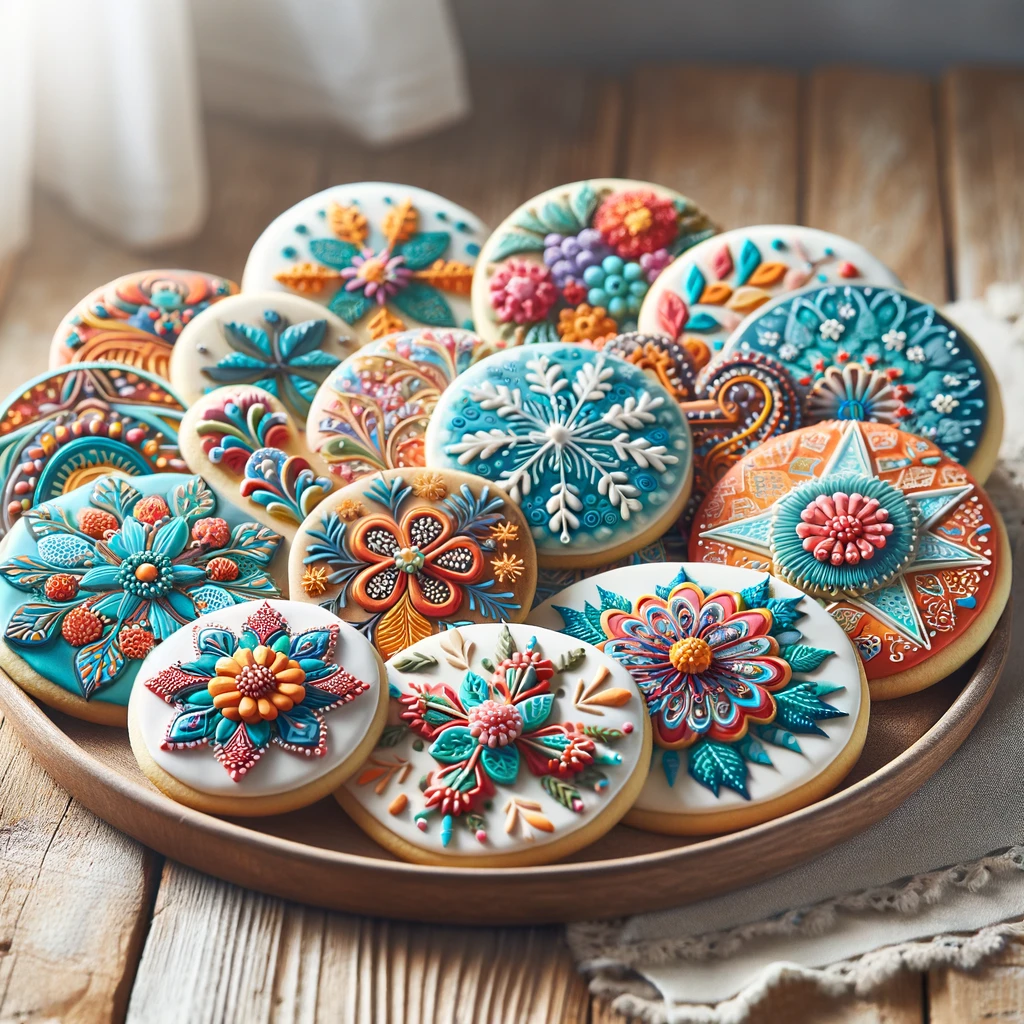
- Decorate: Let your creativity shine! Decorate your sugar cookies with the frosting. Use different colors and tips to create unique designs.
Letting Your Cookies Dry:
Allow your decorated cookies to dry completely. This can take anywhere from 4 hours to overnight, depending on the thickness of the frosting and the humidity levels in your environment. Once dry, the frosting will be hard to the touch, making the cookies stackable without damaging the designs.
FAQs About Sugar Cookie Frosting
What is the frosting on sugar cookies made of?
Sugar cookie frosting, particularly the kind that dries hard, is primarily made of powdered sugar, water, and meringue powder. Meringue powder replaces raw egg whites, making it safe to eat without cooking and helps the frosting to harden as it dries.
How do you make sugar cookie icing harden faster?
To make sugar cookie icing harden faster, ensure that your cookies are in a cool, dry place. Increasing air circulation with a fan can also speed up the drying process. Avoid high humidity areas as moisture in the air can significantly slow down the drying time.
How to frost sugar cookies like a pro?
To frost sugar cookies like a pro, follow these tips:
- Use a piping bag with a fine tip for outlines and details.
- For a smoother finish, thin your frosting slightly with water and “flood” the outlined area, using a toothpick to guide the frosting to the edges.
- Allow the base layer to dry before adding more detailed decorations on top to avoid colors bleeding into each other.
What is the difference between icing and cookie icing?
The main difference lies in the consistency and drying properties. Traditional icing is thinner and often remains soft, ideal for drizzling over cakes and pastries. Cookie icing, however, is thicker, can be colored, and dries hard, making it perfect for detailed cookie decorating.
By following this sugar cookie frosting recipe and tips, you’ll be well on your way to creating beautifully decorated sugar cookies that are as delightful to look at as they are to eat. Remember, practice makes perfect, so don’t be afraid to experiment with different designs and techniques. Happy decorating!